Showing posts with label Salamander. Show all posts

Wednesday, 11 March 2015

Fast Attack of the Praetorian IV - Gallery photos part 5

Welcome to the final gallery photo post. In this one I will take you through the faster elements of the Praetorian IV from the Thunderbolt to the heroic Rough Riders.


We start off with the Thunderbolt of Flight Lieutenant Corvus 'Rook'. A beautiful forge world kit and one of my absolute favourite models to paint. So much character and such a brutal look to it.

 photo DSC_1346_zps77154d55.jpg

Here we have a decent photo of the cockpit and his call sign. The display in front of the pilot is banked to be horizontal with the way the plane sits on the flight stand.

 photo DSC_1347_zps57eeb6c5.jpg

Clearly a very successful pilot he's racked up a lot of kills with an impressive 18 confirmed enemy kills. Behind the cockpit we have the squadron markings.

 photo DSC_1348_zps04877a8b.jpg

Once again the plane features the red and white markings that run through all the support vehicles in my army. The black and white chequered pattern continues the chess theme of the pilot.

 photo DSC_1362_zps56cf794e.jpg

Not really a part of the fast attack but its quick so we will take it. It's the prime that will transport the Highland Scions when finished.

 photo DSC_1410_zps0d14e803.jpg

Here we have the hellhound 'Singing Sally' and the Banewolf. The Hellhound was originally painted way back when the army was started and so is the proper old school metal model and fatter chimera frame. It was of course update more recently to bring it in line with the rest of the army.

 photo DSC_1404_zpse5abd9c0.jpg

The Salamander Command vehicle with a few minor conversions. It usually has a heavy flamer but I converted a heavy bolter from the guard kick. A very old forgeworld model, but still such a god one.

 photo DSC_1406_zpsb1bdb7fa.jpg

You can see another minor conversion here where you see half of a land raider grenade launcher mounted on the side of the armoured half track area. Also note the way the ammo feed comes from the tank to the heavy bolter.

 photo DSC_1383_zps393be680.jpg

Now the Rough Riders! Converted with Col. Gravis kits and lots of green stuff on the horses with aquilla on the heads and holstered weapons.

 photo DSC_1382_zpsf3da14ea.jpg

These models have big fat cavalry sabres on the mounts for when they get close and personal. Also note the cavalry plumes green stuffed on the helmets.

 photo DSC_1375_zps24126a82.jpg

Another photo of the 5. I would love to make a few more squads of these with lances and have these guys as a command section.

That concludes the gallery posts! I hope you have enjoyed them. Next time there will be some more new models to show you.

Thanks for reading!

Wednesday, 27 March 2013

Imperial Guard Salamander rides again!

A special post on something I don't do a great deal of. Rules and game mechanics!

As you may have twigged from the post title I want to talk about the Salamander, and more importantly its new rules.


Here is a photo of my Salamander Command, possibly one of my all time favourite Guard tanks.

Now it may be that people don't care about the Salamander, maybe nobody owns one other than me, nonetheless I'm going to do my best to educate you all on the wonders of this tank and the great rules it got in the latest IA book, Imperial Armour 1 2nd Edition.

The first great change for the tank is that the Command is now an Elite choice (anybody take many elites, no? Didn't think so...) so it slots in to the army nicely, the scout is fast attack so has far greater competition. The big and welcome change is that the command tank is now BS4! Fast and has scout! Furthermore it can forgo shooting and reduce the cover save of an enemy unit by 1. All this for only 60pts. Bargain.

The scout is 55 and can be bought in squadrons of up to 3, is also fast with scout but sadly is only BS3 with no other special rules.


That scanner can do wonders...

So what are your thoughts? I'm thinking my Salamander will very quickly become a staple of my guard army.

Monday, 7 May 2012

One heck of a weekend...

As the post title suggests it has been one heck of a weekend. There have been lots of new purchases for the army, battles fought, models painted and photos taken. It's going to take at least a few posts over the coming week to fit everything in.

Before I start there are now gallery photos of the Highland Guard with proper lighting and background. There is also a new objective marker and the chimera to accompany the Veterans.

So where to begin...

This weekend I took part in a tournament at Triple Helix in Westbury, Wiltshire. It consisted of 4 battles, two of 1250pts and then an escalation to 1750pts for another two games. Units used in the 1250 had to be in the 1750 and could not be altered.

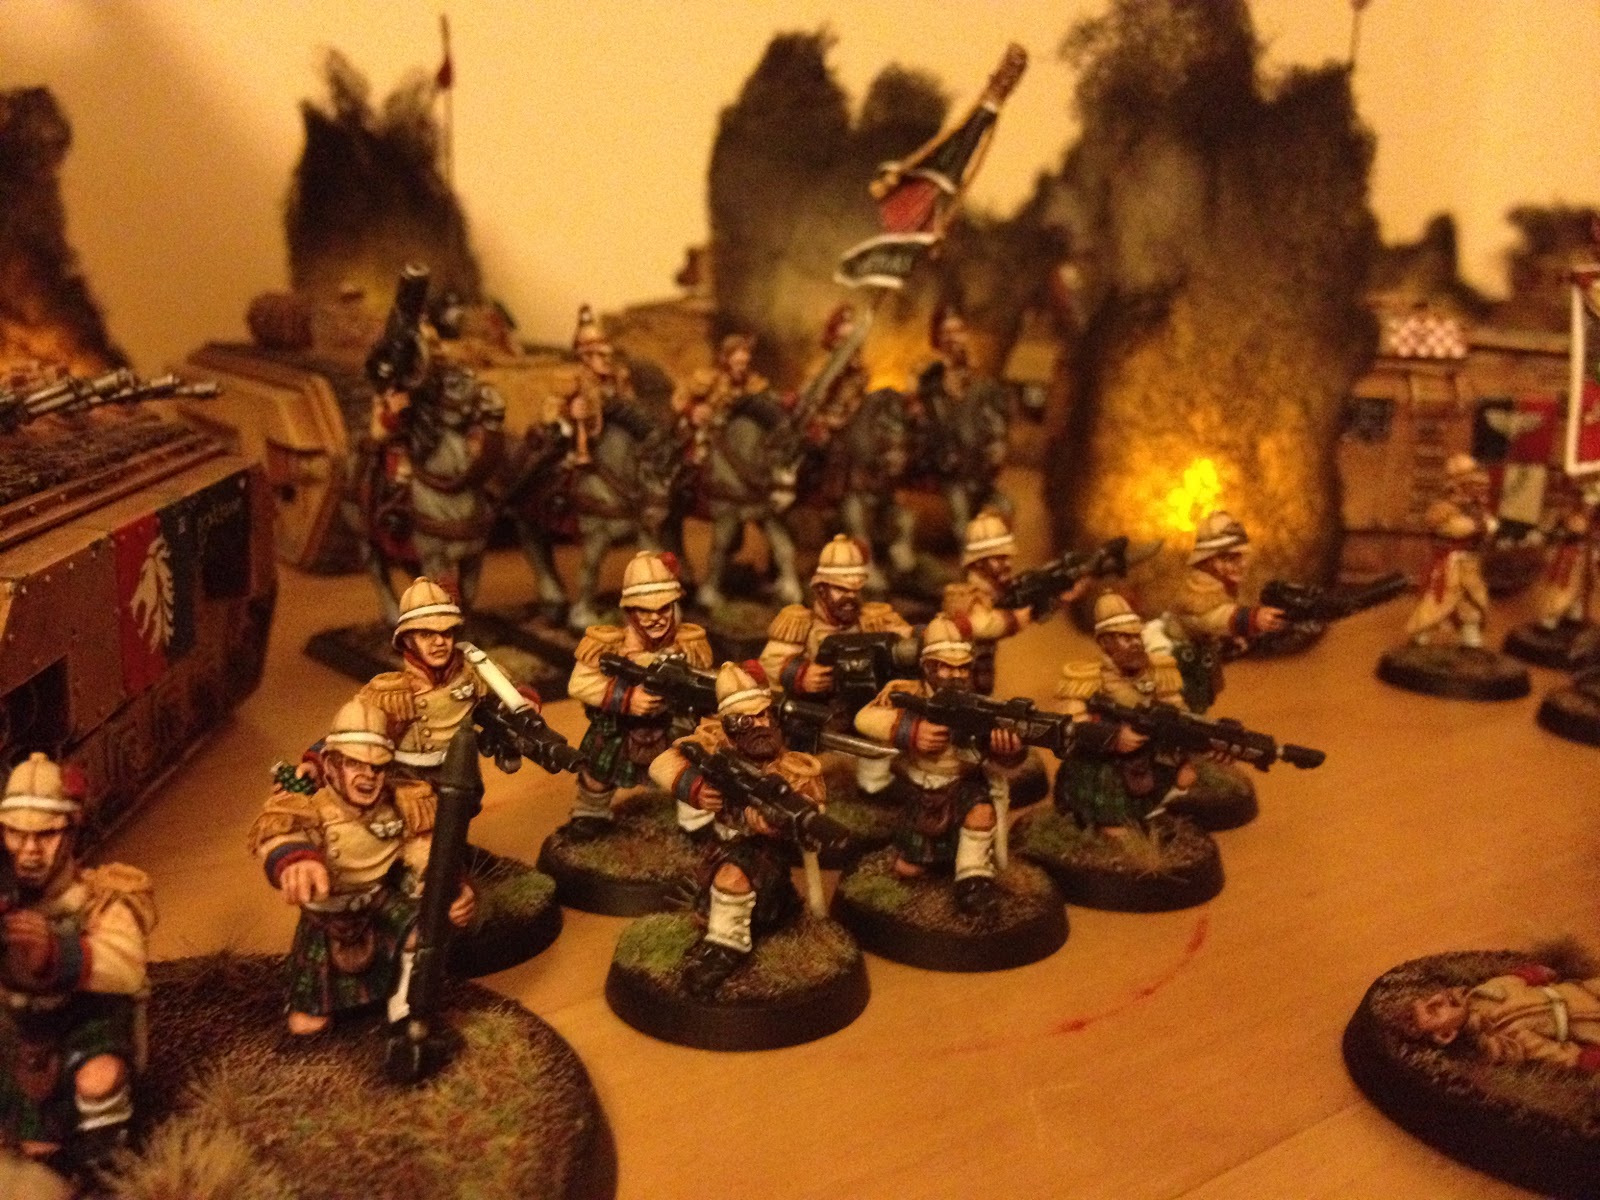
With the tournament in mind I got all of my Praetorians out of their cases and set about writing an army list. In doing so I just couldn't resist taking some photos of the whole army, so here you go. The finished elements of the Praetorian IV Mechanised Infantry.


The Inquisitorial Valkyrie attached to the army.


INCOMING!!!


There you have it, the army as it stands this weekend. Also 12 explosion markers I use for my wrecked or damaged tanks.

I will post again in the next couple of days with details of what happened at the tournament and a bumper load of photos of the battles and other armies.

Any comments are very welcome!

Wednesday, 15 February 2012

Mid February update

It's come to mid February and unfortunately a rather slow period in terms of hobbying is upon me. Changing job and moving house at the same time means that progress is likely to be very slow in the coming weeks, nonetheless I will try my best and put up a few posts here and there. Earlier today (just scroll down!) I posted some photos of the finished Command HQ Chimera and Salamander, these were painted last week but I haven't had the opportunity to photo them or post about them, I'm really pleased with both of them and it brings my finished tanks total up to 10, I officially don't own an unpainted tank! Huzzah! Now I just need to buy a stormlord to remedy that...

On a side note does anyone know a)if a salamander can be used in a regular IG codex army
                                                       b) what force organisation slot does it use
I like using it because it looks ace, the problem is I suspect it probably isn't legal in my army... Please help!


Those of you that regularly follow Praetorian blogs will have seen Col Gravis taking the plunge and deciding to paint a mind numbingly large number of pith helmeted buggers, well I feel that the time has also come for me to paint some infantry. My 40k games thus far have been me taking every painted model in the army in a bid to make the points up without any real tactical thought, my lack of infantry (a paltry 35ish painted) has made my army very inflexible and my deployment zones more of a parking lot than I would like.

So what am I going to paint?
Firstly the 10 Highland vets. need to be finished, upon their completion that will be 1850pts (of legal army) fully painted
3 x10 man guard squads (2 lascannon and 1 missile launcher heavy weapons which could form a heavy unit if needed), these need to be undercoated.
10 storm troopers, now you may have seen my 'commando' storm troopers that Ive been working on, but these aren't them. This squad will be converted DKOK grenadiers and the first one is built and ready for greenstuff, feast your eyes on this guy...


Epaulets will be sculpted, also filling around the arms and neck. I'm also toying with adding something to the helmet, not sure yet, any ideas?

So in total that is 50 guys that need painting (also a fair bit of converting and sculpting for the stormtroopers), it could take a while...

Speaking of painting, I have been thinking of evolving my methods a bit and getting an airbrush. Now I have absolutely not experience with airbrushes but I'm thinking that if I can paint the khaki uniform on them all with an airbrush it will save me literally days worth of time. I'm going to investigate the matter further but peoples thoughts/experiences would be very gratefully received! Also do you think I could get a result with the airbrush that would match my hand painted ones (regarding the khaki uniform).

On a final note my guardsmen are confirmed for Badab War pt 2 up at Warhammer World in May, I cant wait! If any other Praetorian players are thinking of going let me know and we could team up for the apocalypse game!

That's enough for now, I will catch you all later.

Praetorian Salamander Command Vehicle

Photos of the finished Salamander Command Vehicle with converted Praetorian Crew.


Wednesday, 8 February 2012

What's new? Praetorians that's what!

As the eagle eyed informed me earlier today, the 4th Praetorian Mechanised Infantry were seen on manoeuvers not once, not twice, but thrice on the GW what's new section of todays website!

I sent them some photos and a blurb a few weeks ago and they said they liked them, sent them a few more of the newly finished tanks the other day and as if by magic on GW they appear, needless to say I'm pretty chuffed. Followers of my blog will have seen the photos before (possibly there is a new one of the rough riders with better colour), but there is a new blurb about them which speaks more of why I collect Praetorians. Also check out some photos of Big Toof River from back in the day, almost 15 years ago, surely it is about time for a rematch against the Ork foe? Also well done to Commisar Dave, who's Colonel featured as well!


Here's a little update of my painting table for today, we have the HQ chimera Salamander which (other than the crew) both just need chips and insignia painted. My inquisitorial Valkyrie (just needed a base, its the old forgeworld one so had to do some drilling and pinning) and two smoke markers. I decided that my tanks also need to look good as wrecks (what with fielding 10 of them) so smoke markers were a must!


Who knows, perhaps this represents a softening of the GW stance on pretending Praetorians don't exist anymore! We can only hope. All that is left to say is...

For Praetoria!


Tuesday, 7 February 2012

A Praetorian guide to tank track weathering

Followers of my blog will know that recently the poor guardsmen have been overlooked in favour of finishing off a lot of armour and painting lots of chips and damage to the paint work and weathering on the tracks. The current tank being painted is my command Salamander, when I last left it (see the old post) I had finished the main colour of the tank.
Since then Ive painted the black parts and given the whole hull a wash of 1:1:1 water ogryn flesh and badab black where I was carfeul to paint the wash on making sure not to apply to much and leave a patchy finish where it collects on the flat area.
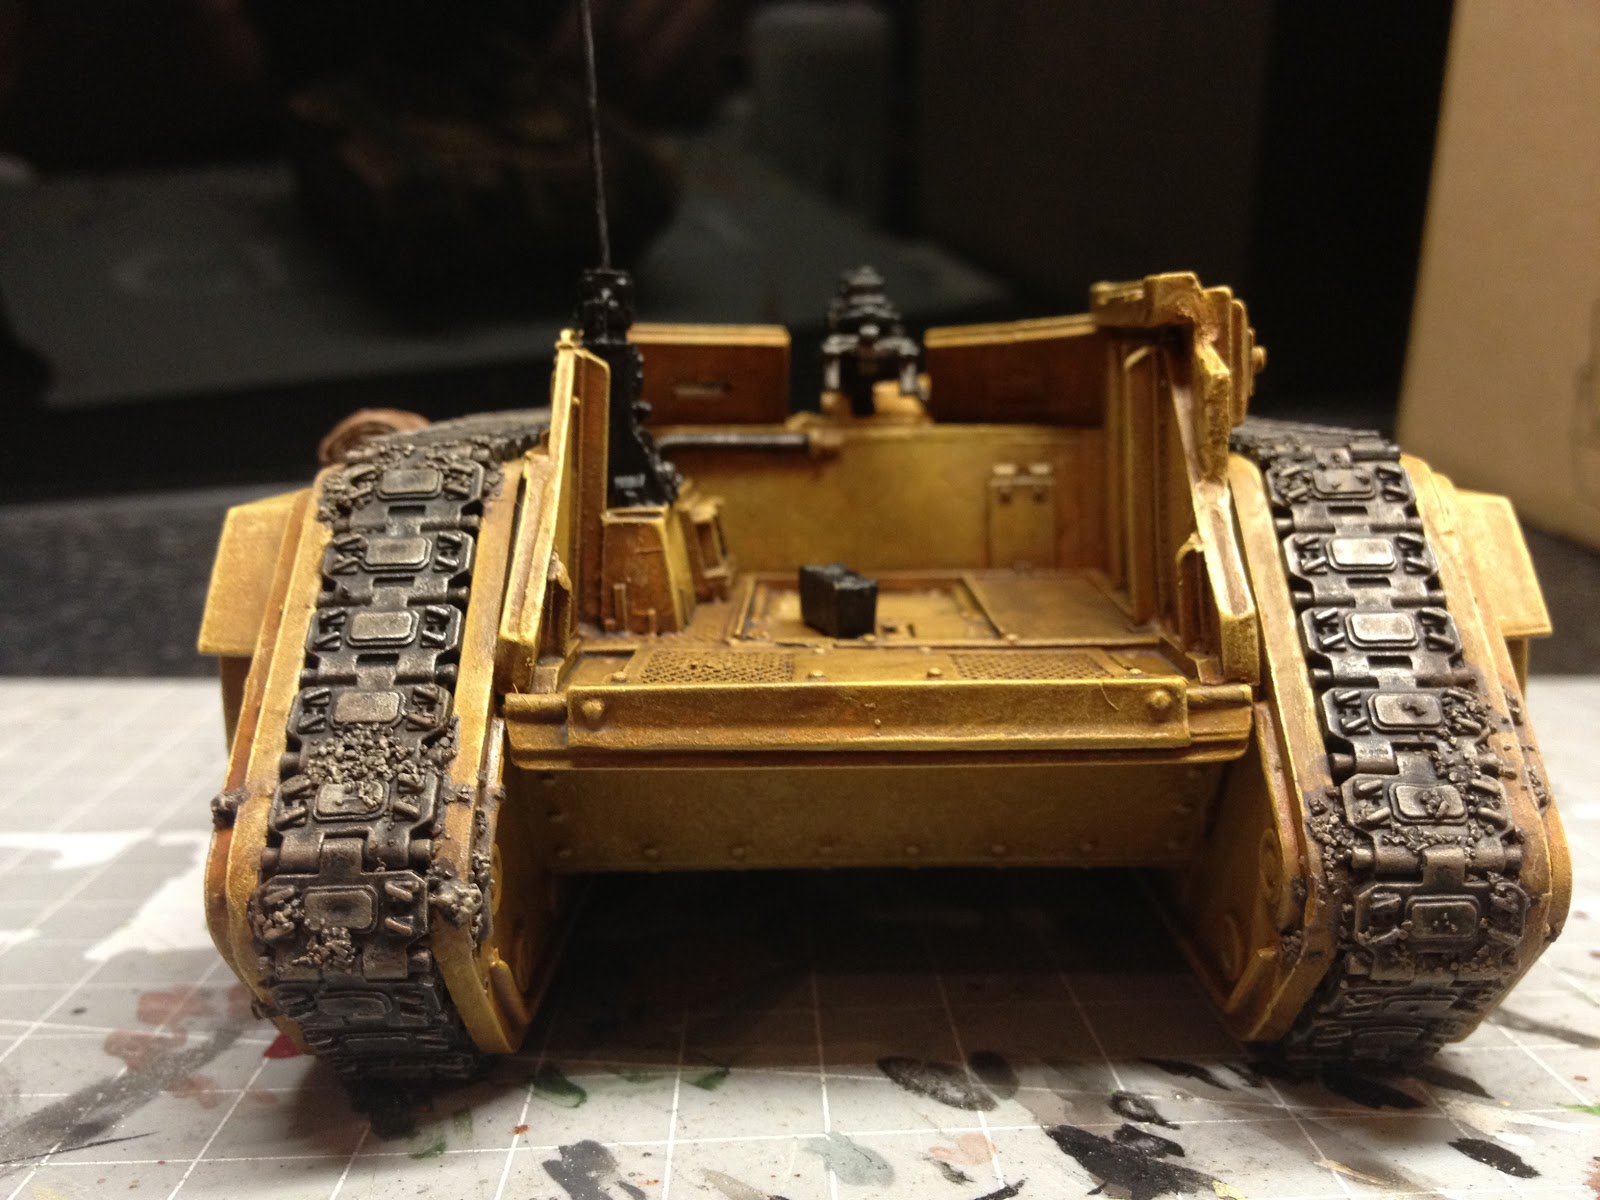
In the picture below I have added the tracks (I can never get them to fit properly and so always have to chop bits off the tracks where they can't be seen...). The tracks were sprayed black on the frame and drybrushed first with tin bitz and then boltgun metal and then chainmail, followed by a wash of 1:1 ogryn flesh and badab black. I then removed them from the frame with a knife added them to the tank and touched up any bare plastic with black.


Right thats the intro now on to the weathering! (you will also note that the rest of tank magically becomes more painted as the track weathering progresses!)


Step 1
I think the tracks always look better if they have picked up some dirt and look like they haven't just driven out of the showroom. When you add the weathering is up to you, at the end when everything else is painted works well or at a stage (like the salamander) when the surrounding area is done. So to achieve the look we go mix up PVA sand a little water. You want to have a bit less wet than my photo or else you could end up with a bit of PVA glaze!
Now you apply it to the tracks where you want the dirt to be. Think about where it might have collected on the hull and skirts of the tank, you can use it to hide errors and cover up parts where the tracks dont join quite right. I tend to place it pretty evenly around the whole track never leaving too big a gap, I also have it collecting along the skirts and towards the back . I would avoid going too crazy and putting lots and lots on but each to their own!

Step 2
So now we have applied the weathering we need to paint it. It will take quite a while to dry so don't rush it. It should now look a little something like this. What with being sand on a sand coloured tank and transparent PVA glue not much to see but its certainly there.
The base colour for my weathering is 1:1 chaos black and scorched brown (depending on your bases for the rest of your army you could paint it different colour), you want it watered down somewhere in between a wash and paint from the pot, you want it to apply well but also be opaque so you dont see the sand colour through it. Paint it on generously but stick to the sand as much as possible. Dont be afraid to paint this colour on the tank a little as with the following drybrushing it will all come together.

Step 3
Now the drybrushing begins. For this I used a medium drybrush, remember with drybrushing you want to remove most of the paint from the brush, you can always drybrush the bit again if not enough paint was applied. I will post the next few pictures with the colour used, the lighter the colour the less paint on the brush, you want to build a depth of colour. Also get a little on the rest of tracks here and there as it looks good.
Drybrush colour one - Calthan Brown
Drybrush colour two - Khemri brown
Drybrush colour 3 - Komando Khaki
Final drybrush colour - Bleached bone (possibly the most useful paint for my army there is!)


Step 4 
So your drybrushing should have also added a little bit of colour the tracks and might seem a little light in colour now. We want to bring it all together and add tone it down a bit. To do this we have another wash. This one is 2:1:1 badab black, ogryn flesh, water, apply to all of the tracks but do not wash the dirt, a little bit here and there is fine to mix it up but once again paint your wash on rather than haphazardly slapping it everywhere.


Final step
When your wash is fully dry (don't risk it when wet!!!) we apply our very last highlight in the form of some more drybrushing. This time we are going to drybrush chainmail on the tracks to bring the metal back to life. This is a very very light drybrush and it does not go everywhere, I tend to just put it on small areas here and there and mostly away from the dirtier parts.


There you go! Finished weathered tanks. The colours can be adapted to suit your needs but the method remain the same.

It might sound like a lot reading through but in practice it is very quick and easy to do, especially if you are doing a few tanks at once its very fast.

A few other examples of my other tanks, it is no problem if the colours, darkness, or amount of weathering vary from tank to tank, it all adds to the look!


Next step for the Salamander is to paint it and then add the battle damage and paint chips, I will add another how to post for that when I get it done.

I hope that was useful, it's a nice subtle weathering which adds to the look of the tank rather than being too obvious or drawing attention away from the tank itself. If you have any questions let me know!