Another pic heavy post (the best kind of post surely?! Also I've made them slightly bigger, if this messes up peoples browsers etc do let me know and I will revert to the smaller sizes) with all the action from The Praetorian v Praetorian battle on the City fight board Spyral prime.
Continuing from the last post lets get stuck in to the action!

The opening salvos from the IV mechanised decimate the red coats sheltering behind the aegis. The Thudd guns alone account for 20+ guardsmen!

As the explosions cease Gravis' artillery ready themselves to return fire.

The macharius hunts for targets...

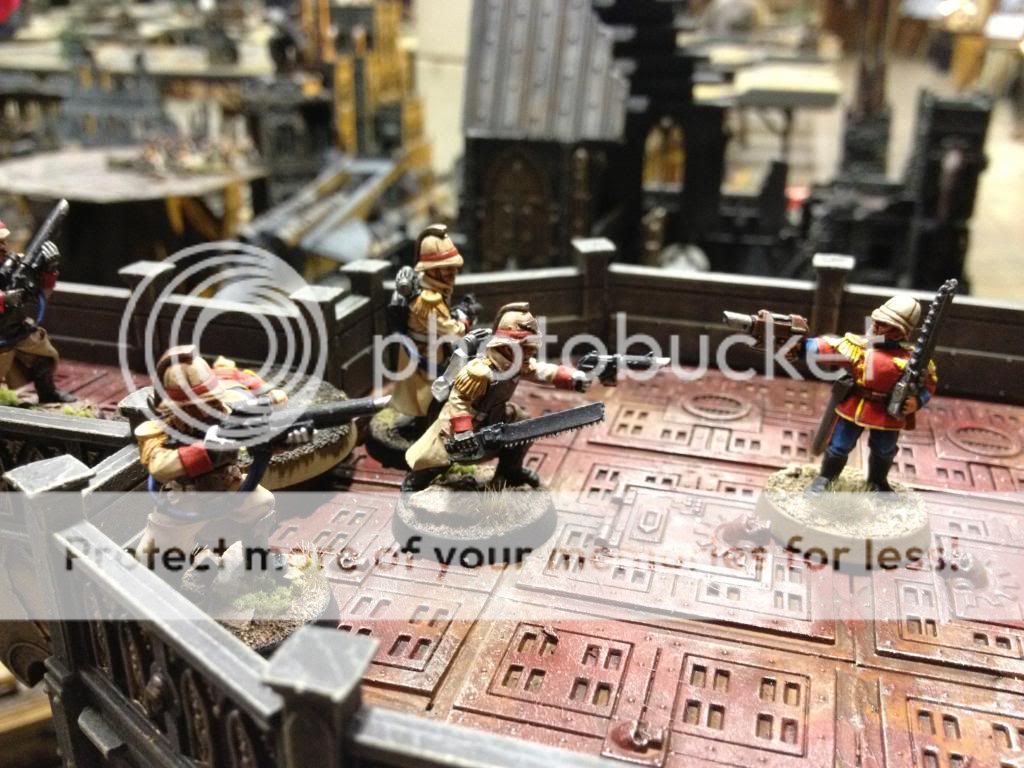
The few remaining guardsmen from half a dozen squads regroup.

Another platoon sheltering in a ruined building are saved the worst of the artillery fire and take up firing positions ready to ambush the advancing mechanised units.

The demolisher slowly rumbles forward while the guardsmen in the street batter the door down on the building to left heading for an objective high up on a walkway.

Gravis' right flank remains untouched by the bombardment and maneuvers into position.

The medusa, rightly feared by the enemy tanks, had been targetted by all weapons that could be brought to bear. However a combination of cover and wildly scattering ordinance meant it survived unscathed and the following turn with its bastion breacher shells destroys the malcador in one shot!

The Dragoons get the charge on the enemy cavalry.

The two cavalry officers engage in one on one combat!

Much of the red coat lines lie in tatters, buoyed by their success, the IV mechanised advance on enemy lines, claiming objectives as they go and putting bayonet to the surviving guardsmen they encounter.

Gravis' Leman Russ tanks prove difficult to shift, however once again due to wayward shots and cover their shots fail to make their mark on the IV armour.

A flanking squad of vets try to take the fight to the enemy and encounter stiff resistance.

The Vendetta arrives and finally starts to take down the IV armour as the hydra rapidly redeploys to get line of sight on the gunship.

Heavily fortified infantry guarding one of the objectives.
High above the conflict below on the spire of a hab block the brave red coat sergeant stands firm, his squad all killed by the ruthless Life Guards. Not only did he stand firm but in his ensuing charge he managed to cut the Life Guards down and win combat!

More infantry dismount to claim objectives.

The Highlanders make it to the landing pad to claim another objective as the Vendetta continues hunting.

The IV mechanised finally destroy the Leman Russ and the advance continues.

Captain Caine dismounts and hunts down the last survivors of Gravis's army.

The last objective is claimed and the game ends with a resounding Praetorian Victory!
Huzzah!
A massive thanks to Gravis, an epic game with some great moments.
Stay tuned for my next post where I will be posting some photos of our two armies on parade!
Thanks for reading!


